Deploying Next.js on Shared Hosting with .htaccess Port Redirection
Table of Contents
Deploying Next.js on Shared Hosting with .htaccess Port Redirection
Introduction
Next.js is a powerful React framework that’s beloved for building modern web applications, boasting features like server-side rendering (SSR) and static site generation (SSG). However, deploying a Next.js application to shared hosting can sometimes be tricky due to the restricted access to server configurations. Fortunately, many shared hosting providers allow redirection to specific ports, offering a viable workaround. This guide provides a complete, step-by-step approach to deploying your Next.js project on shared hosting using .htaccess for port redirection.
Why This Guide?
Deploying to shared hosting isn’t always straightforward with frameworks like Next.js, which typically expect more control over the server environment. This guide addresses that challenge directly. We use the .htaccess file, a common tool on shared hosts, to cleverly redirect traffic to your Next.js application running on a specific port.
Prerequisites
Before you begin, make sure you have the following:
- A Developed Next.js Project: A complete Next.js project that runs successfully in your local development environment.
- Shared Hosting Access: Access to a shared hosting account that supports the use of
.htaccessfiles and allows port redirection. Crucially, confirm this with your hosting provider before proceeding. - FTP Client or File Manager: A way to upload files to your hosting account (e.g., FileZilla, Cyberduck, or the file manager provided by your hosting control panel (like cPanel)).
- SSH Access (Recommended): SSH access to your hosting account, allowing you to use the command line. While some hosts provide a web-based terminal, SSH is generally more reliable.
Deployment Steps
1. Project Setup on the Server
We’ll start by getting your Next.js project onto your shared hosting server.
Access the Terminal: Log in to your hosting account’s cPanel (or your hosting provider’s equivalent control panel). Locate the “Terminal” option (often under “Advanced”). Alternatively, use an SSH client (like PuTTY on Windows, or the built-in terminal on macOS/Linux) to connect to your server via SSH.
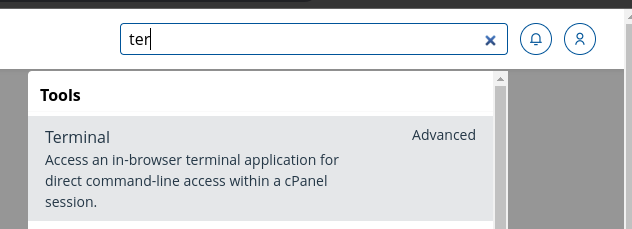
Figure 1: Accessing the Terminal in cPanel 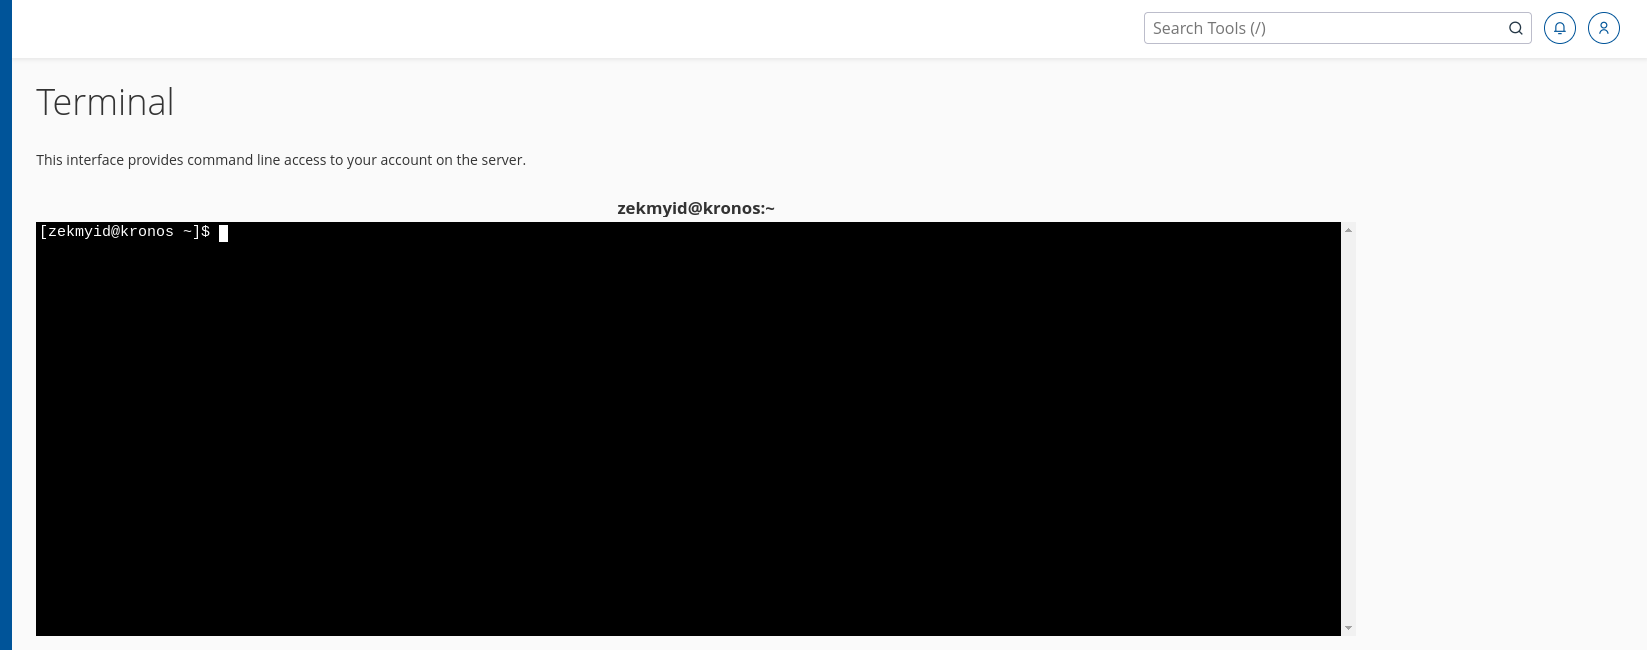
Figure 2: cPanel Terminal Navigate to the Directory: Use the
cdcommand to navigate to the directory where you want to deploy your Next.js application. This might be a subdirectory of yourpublic_htmlfolder (e.g.,public_html/my-nextjs-app). It’s generally best to deploy to a subdirectory rather than directly intopublic_html. In the example, it usesnext.zekri.id/.Clone Your Repository (Recommended): The easiest way to get your project onto the server is to clone it directly from a Git repository (e.g., GitHub, GitLab, Bitbucket).
Important Note: cloning the code repository inside document root may raise a security issue, move or copy it to up level folder (outside document root) instead.
(Alternative) Upload Files via FTP/File Manager: If you’re not using Git, you can upload the entire contents of your local project’s folder (excluding the
node_modulesdirectory) to your chosen directory on the server.
2. Install Dependencies and Initial Run
Now that your project files are on the server, let’s install the required dependencies and do a test run.
Install Dependencies: Inside your project’s directory on the server, use
npm installto install the project’s dependencies.Run in Development Mode (Test): To ensure everything is working correctly, run your Next.js application in development mode. We’ll specify a port explicitly using the
PORTenvironment variable. This port is crucial for the.htaccessredirection later.PORT=44231- Important: Choose a port that is not commonly used (like 80, 443, 21, etc.). Ports above 1024 are generally safer, and something like 44231 is a good choice.
- This command will start the Next.js development server. You should see output indicating that the server is running and listening on the specified port (e.g.,
http://localhost:44231).
3. Configure .htaccess for Port Redirection
This is the key step that makes deployment on shared hosting possible. We’ll create or modify an .htaccess file in the document root of your website (usually the public_html folder or the folder associated with your domain/subdomain).
Locate/Create .htaccess: Navigate to your website’s document root (e.g.,
public_html). If an.htaccessfile already exists, you’ll modify it. If not, you’ll create a new one. You can do this using the file manager in cPanel, an FTP client, or the command line:Add the Redirection Rules: Add the following lines to your
.htaccessfile. Replace44231with the port you used in the previous step.Options +FollowSymLinks -Indexes IndexIgnore * DirectoryIndex <IfModule mod_rewrite.c> RewriteEngine on RewriteRule ^(.*)$ http://127.0.0.1:44231/$1 [P] </IfModule>Explanation:
Options +FollowSymLinks -Indexes:+FollowSymLinks: Allows the server to follow symbolic links (generally safe, but check with your host if unsure).-Indexes: Prevents the server from displaying a directory listing if noindex.html(or similar) file is found. This is a good security practice.
IndexIgnore *: Hides all files from directory listings.DirectoryIndex: This is intentionally left blank. We don’t want a default index file to be served.<IfModule mod_rewrite.c> ... </IfModule>: This block ensures that the rewrite rules are only applied if themod_rewritemodule (Apache’s URL rewriting module) is enabled on the server. Most shared hosts have this enabled.RewriteEngine on: Enables the rewrite engine.RewriteRule ^(.*)$ http://127.0.0.1:44231/$1 [P]: This is the core redirection rule.^(.*)$: This matches any request URL.http://127.0.0.1:44231/$1: This is the target URL.127.0.0.1is the loopback address (localhost), meaning the request is handled internally on the server.$1is a backreference that captures the original request path (everything after your domain name) and appends it to the target URL.[P]: This is the crucial flag. It tells Apache to use a proxy connection. This means Apache acts as a middleman, forwarding the request to your Next.js application and returning the response to the client. This is essential for making this setup work.
4. Testing and Verification (Development Mode)
Access Your Site: Open your web browser and visit your website’s domain (or subdomain) as you normally would. You should now see your Next.js application running, even though it’s actually being served from the port you specified.
Check for Development Mode: Verify that the application is running. It might show indicators of being in development mode.
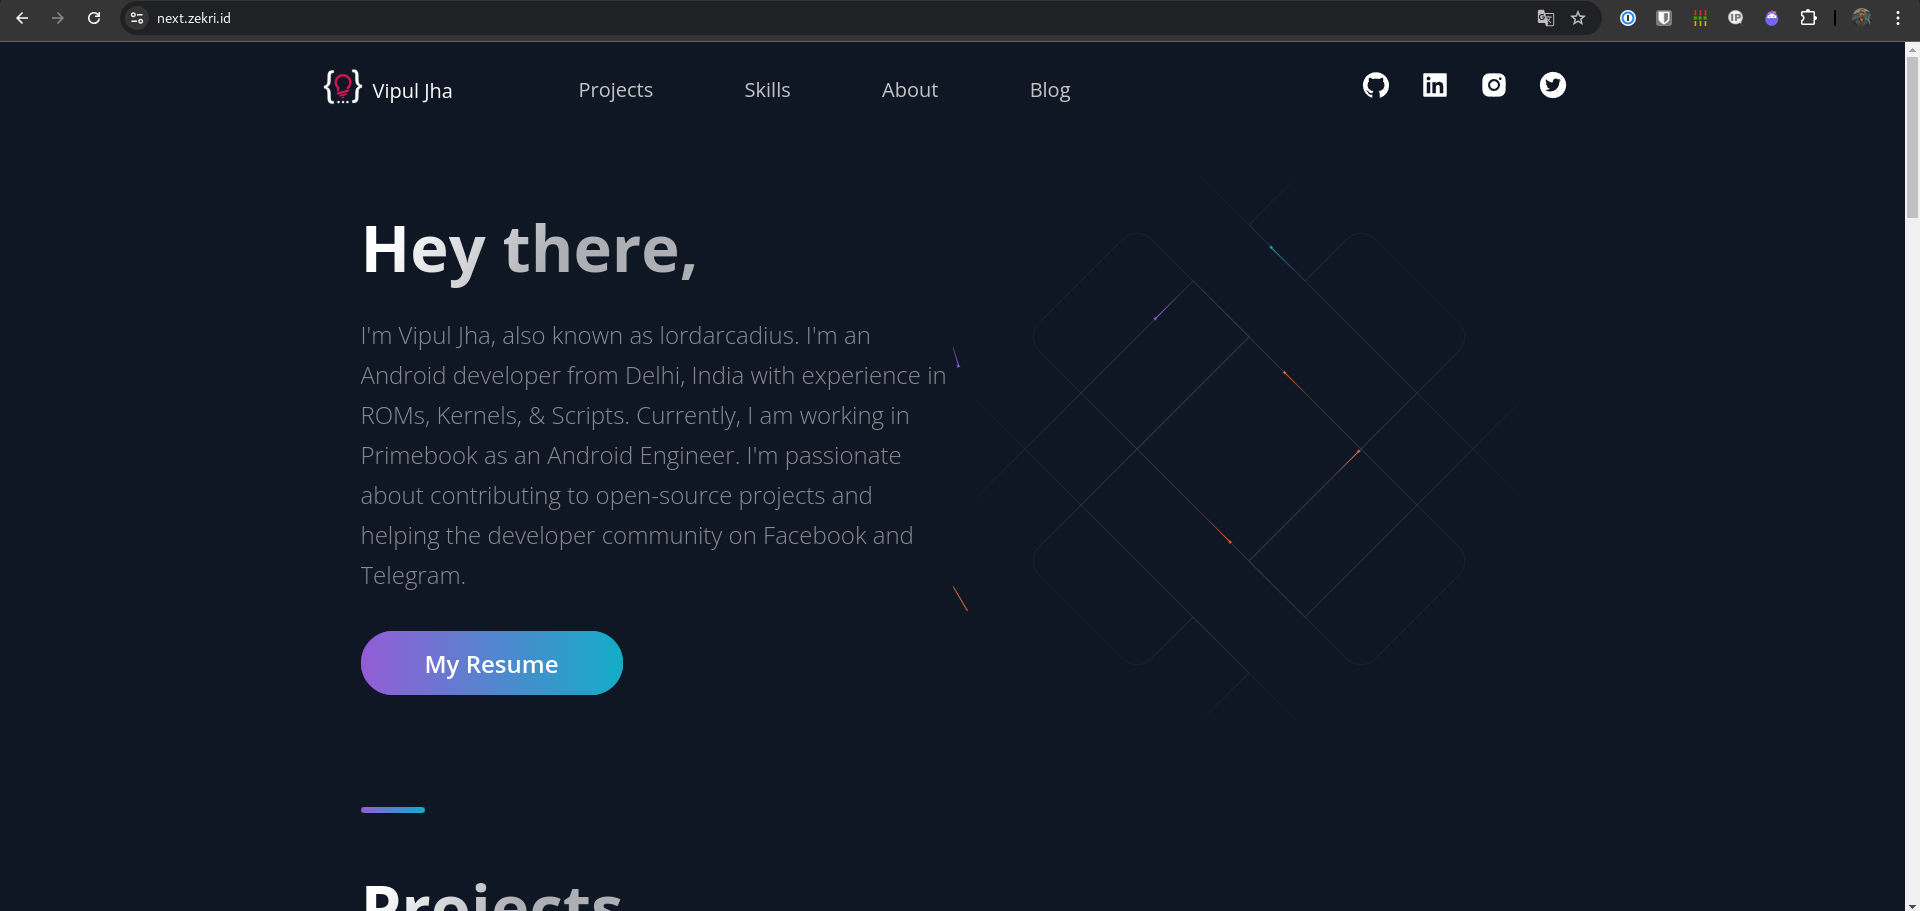
Figure 3: Example of Development Mode Output
5. Running Nextjs in the Background (Production)
So far, we’ve been running Next.js in development mode. This is fine for testing, but for a live, production site, you need to:
Build Your Application: Create a production build of your Next.js application. This optimizes your code for performance.
Run in Production Mode: Instead of
npm run dev, you’ll usenpm run startto run your application in production mode. Remember to specify the port.PORT=44231Run as a Background Process: The most critical part is to keep the Next.js server running even if you close your terminal session. We have two excellent options:
screenandimmortal.
Using screen
screen is a terminal multiplexer that allows you to create and manage multiple terminal sessions within a single window. It’s commonly available on Linux systems.
Create a Screen Session:
This creates a new detached screen session.
Start Next.js: Inside the screen session, start your Next.js application:
PORT=44231Detach from the Session: Press
Ctrl+Afollowed byCtrl+D. This detaches you from the screen session, but the Next.js server keeps running inside it.Reattach (if needed): You can reattach to the session later using:
Using immortal
immortal is a more robust solution for running processes in the background. It provides features like automatic restarts if your application crashes.
Install Immortal: You might need to install
immortal. How you do this depends on your system. Consult theimmortaldocumentation for instructions. You may need to usesudoor contact your hosting provider if you don’t have sufficient permissions.Create a Configuration File
Create an immortal configuration (
immortal.yamlin example) with setting as your needcmd: npm run start cwd: /home/username/next.zekri.id #Replace with real username and path env: PORT: 44231 log: file: /home/username/log/log_nodejs_app.log # Replace to desired path log age: 86400 # 24 hours (in seconds) num: 3 # Keep 3 log files size: 10 # 10 MB max log size timestamp: true retries: 3 # Restart the app up to 3 times if it failsStart Immortal:
Check Status:
Stop Immortal:
Troubleshooting Common Issues
Application Not Accessible:
- Check Next.js Process: Use
immortalctl status(if usingimmortal) orps aux | grep node(more generally) to see if your Next.js application is actually running. - Firewall Issues: Make absolutely sure the port you’re using (e.g., 44231) is not blocked by your server’s firewall. This is a very common cause of problems. You may need to contact your hosting provider’s support to have them open the port.
- .htaccess Errors: Double-check your
.htaccessfile for typos or syntax errors. An incorrect.htaccessfile can prevent any access to your site. Use an online.htaccessvalidator to check your syntax. - .htaccess not being read: some provider using apache handler other than
mod_rewrite, make sure that.htaccesswork correctly by contacting hosting provider.
- Check Next.js Process: Use
503 Service Unavailable Error:
- Next.js Crashed: Your Next.js application may have crashed. Restart it (using
immortalctl restartif applicable). - Check Error Logs: Examine the error logs for your Next.js application (specified in your
immortalconfig or the console output if running withscreen) to identify the cause of the crash. - Resource Limits: Shared hosting accounts have limited resources (CPU, memory). If your application is exceeding these limits, it might be killed by the server, resulting in a 503 error. Consider optimizing your application or upgrading to a hosting plan with more resources.
- Next.js Crashed: Your Next.js application may have crashed. Restart it (using
Slow Performance:
- Optimize Your Build: Make sure you’re running
npm run buildto create a production build before deploying. - CDN (Content Delivery Network): Consider using a CDN to serve your static assets (images, CSS, JavaScript). This can significantly improve performance, especially for users located far from your server.
- Server Resources: Monitor your server’s resource usage (CPU, memory) in cPanel (or your hosting control panel). If you’re consistently hitting limits, you may need to upgrade your hosting plan.
- Caching: Implement Caching as server and client sides to reduce server loads and reduce time serve content to user.
- Optimize Your Build: Make sure you’re running
Conclusion
Deploying a Next.js application on shared hosting can seem daunting at first, but by using the .htaccess port redirection technique, it becomes a manageable process. This method allows you to leverage the benefits of Next.js’s SSR and SSG capabilities even within the constraints of a shared hosting environment. Remember to build for production, choose an appropriate port, configure your .htaccess correctly, and run your application as a background process using screen or immortal. Always monitor your application’s performance and resource usage, and be prepared to troubleshoot any issues that arise. By following these steps, you can successfully host your Next.js applications on shared hosting and enjoy their features and performance.