Complete Tutorial: How to Easily Install WordPress on a VPS with WordOps [2025 Guide]
Table of Contents
- 1. What is WordOps and Why Choose It?
- 2. WordOps System Requirements
- 3. Steps to Install WordOps on a Ubuntu VPS
- 4. Configure DNS Domain in CloudFlare
- 5. Accessing the WordOps Backend
- 6. WordPress Installation with WordOps
- 7. Configure Redis Cache for Optimal Performance
- 8. Removing Netdata (Optional)
- 9. Conclusion
- 10. Need Help Deploying and Managing Your VPS?
Hello everyone! 👋
Welcome to the complete tutorial on how to install WordPress on a VPS (Virtual Private Server) using WordOps. If you’re looking for an easy and efficient way to set up WordPress with high performance, you’ve come to the right place! This guide is designed for beginners, so don’t worry if you’re not too familiar with the command-line. We’ll go through it step-by-step, complete with images, to make it easy for you to follow.
1. What is WordOps and Why Choose It?
WordOps is a game-changer for those who want to easily manage a LEMP (Linux, Nginx, MariaDB, PHP) server for WordPress. This command-line interface (CLI) application offers a variety of features that will simplify your life:
- Automated Installation: Set up your LEMP server and WordPress with just a few commands.
- Performance Optimization: Multi-cache like Nginx fastcgi_cache and Redis significantly increase your website’s speed.
- Advanced Security: Firewall and Brute-Force protection keep your website safe from attacks.
- Intuitive Website Management: Easily manage websites, databases, and SSL certificates.
- Automatic SSL (Let’s Encrypt): Get free and automatic SSL certificates for your website.
- Cutting-Edge Nginx Configuration: Enjoy the best performance with optimized Nginx configurations.
- Latest PHP and MariaDB: Always use the latest versions of PHP and MariaDB for optimal security and performance.
- Server Monitoring: Easily monitor your server’s health.
- User-Friendly Dashboard: Manage your server through an easy-to-use web interface.
With WordOps, you can focus on content and website development without worrying about complicated server configurations.
2. WordOps System Requirements
Here are the minimum and recommended system requirements for running WordOps:
| Requirement | Minimum (For Testing) | Recommended (For Production) |
|---|---|---|
| Compute Resources | RAM: 512MB | RAM: 2GB |
| Storage | 100MB | 20GB SSD |
| Processor | Minimal | Multi-Core |
| Supported Virtualization Platforms | VMware, XEN, OpenVZ, KVM, Hyper-V, LXC / LXD, WSL (Ubuntu on Windows) | - |
| Compatible Operating Systems | Ubuntu (20.04 LTS, 22.04 LTS, 24.04 LTS), Debian (10, 11, 12), Raspbian (10, 11, 12) | - |
| Port Configuration | SSH: 22, HTTP: 80, HTTPS: 443, WordOps Backend: 22222, GnuPG: 1137 (Outbound) | - |
| Additional Server Configuration | Valid Server Hostname | - |
Conclusion: WordOps is designed to be lightweight, but for optimal performance in a production environment, it is highly recommended to meet the recommended resource requirements. Make sure your VPS meets these requirements before continuing.
3. Steps to Install WordOps on a Ubuntu VPS
In this tutorial, we will be using the Ubuntu 20.04 operating system. You can use other Linux versions according to the requirements mentioned above.
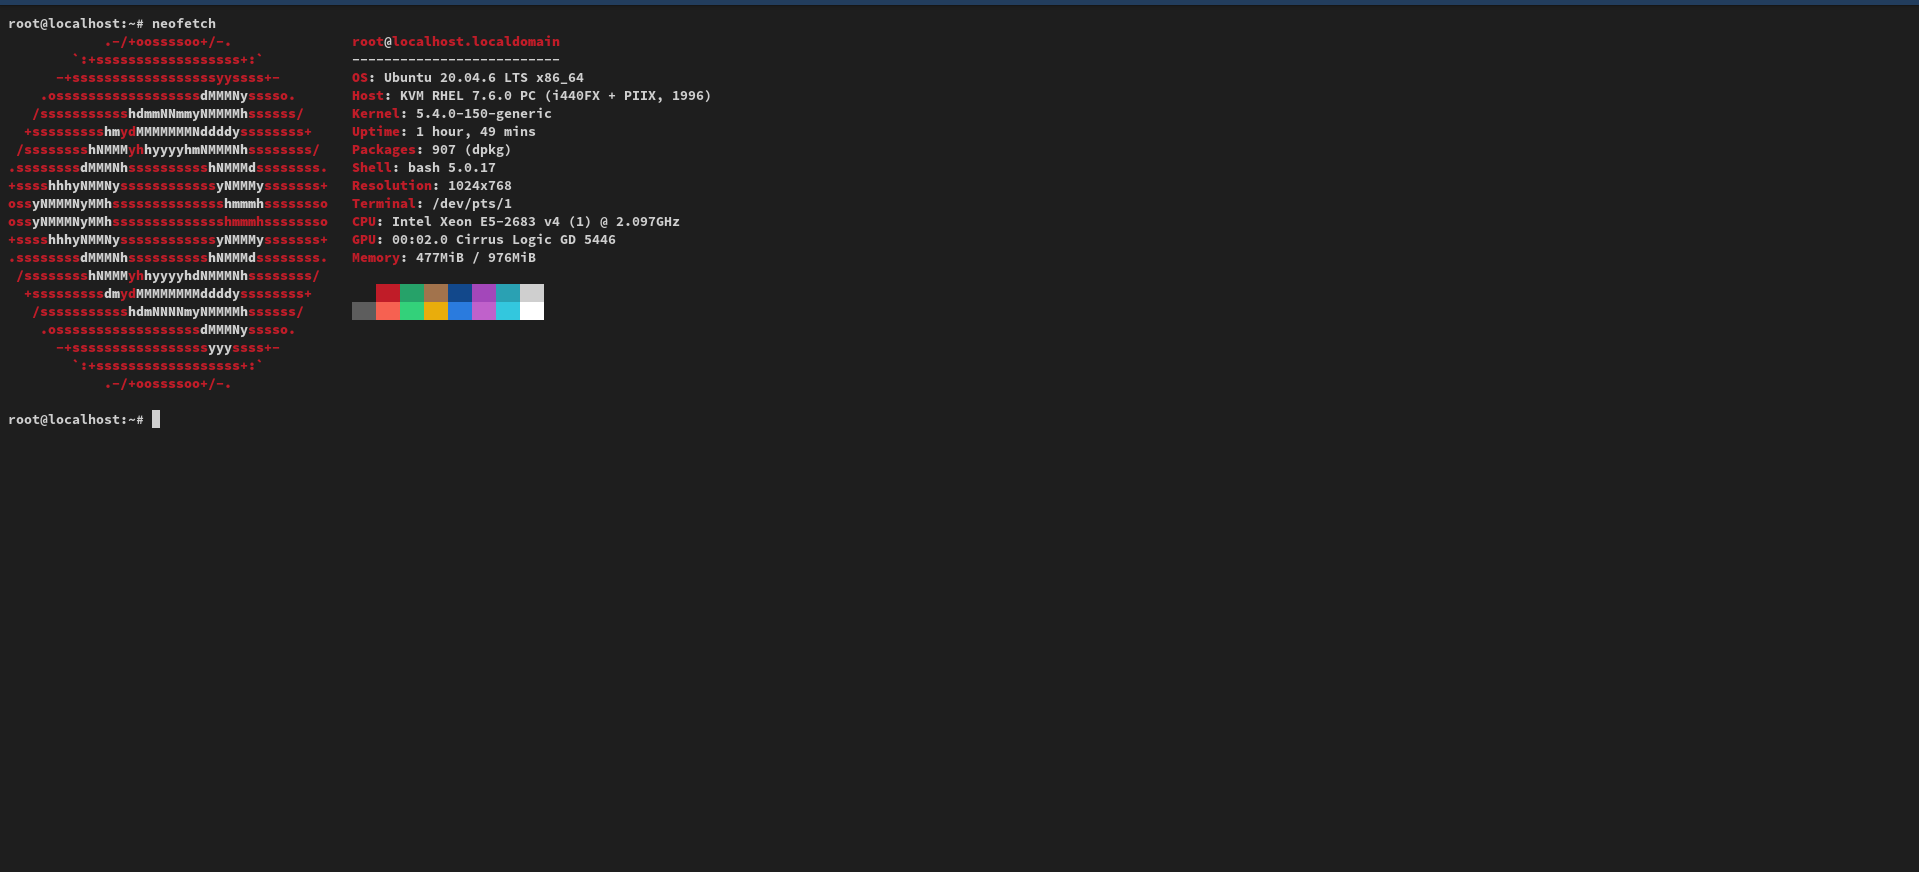
root@localhost:~# lsb_release -a
No LSB modules are available.
Distributor ID:	Ubuntu
Description:	Ubuntu 20.04.6 LTS
Release:	20.04
Codename:	focal
Preparation: SSH Connection to VPS
- Open the Terminal on Windows/Linux/MacOS (Windows can use PowerShell). Type
ssh root@IPVPS(replaceIPVPSwith your VPS IP address). Typeyesfor authorized keys verification, and enter your SSH password. The password will not be visible while typing, this is normal.
Update and Upgrade Linux Packages
Next, update and upgrade the Linux packages to ensure the installation runs smoothly:
apt-get update && apt-get upgrade -y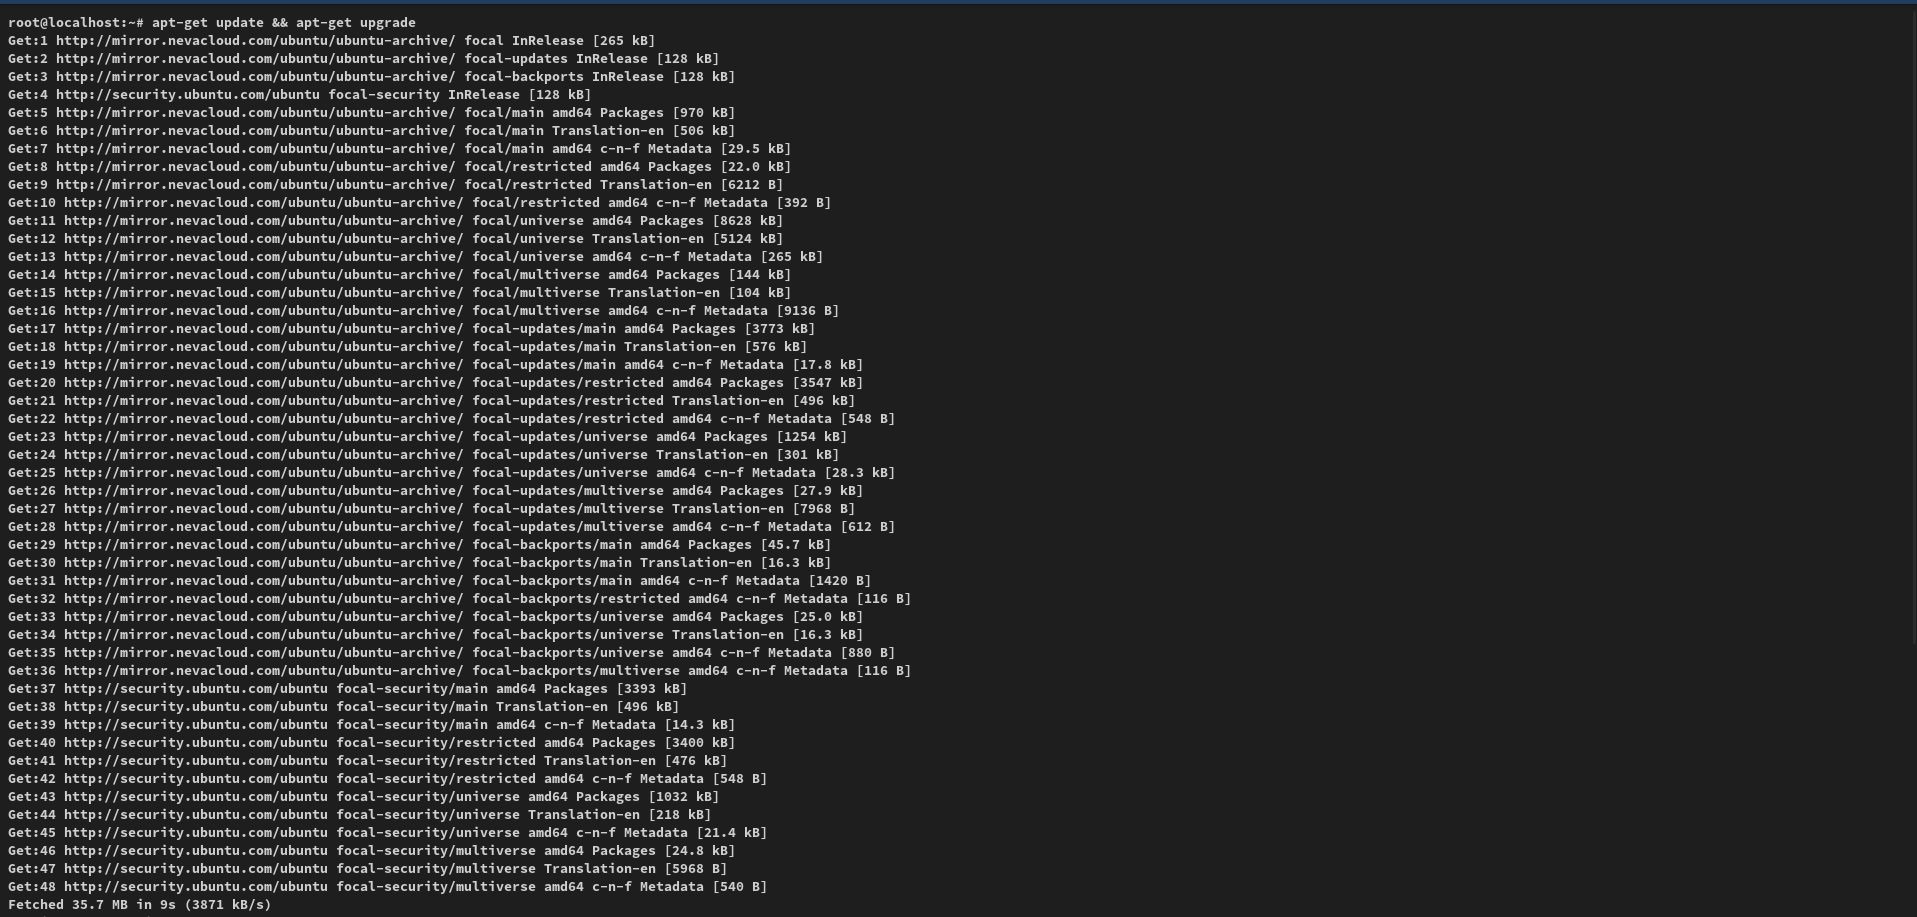
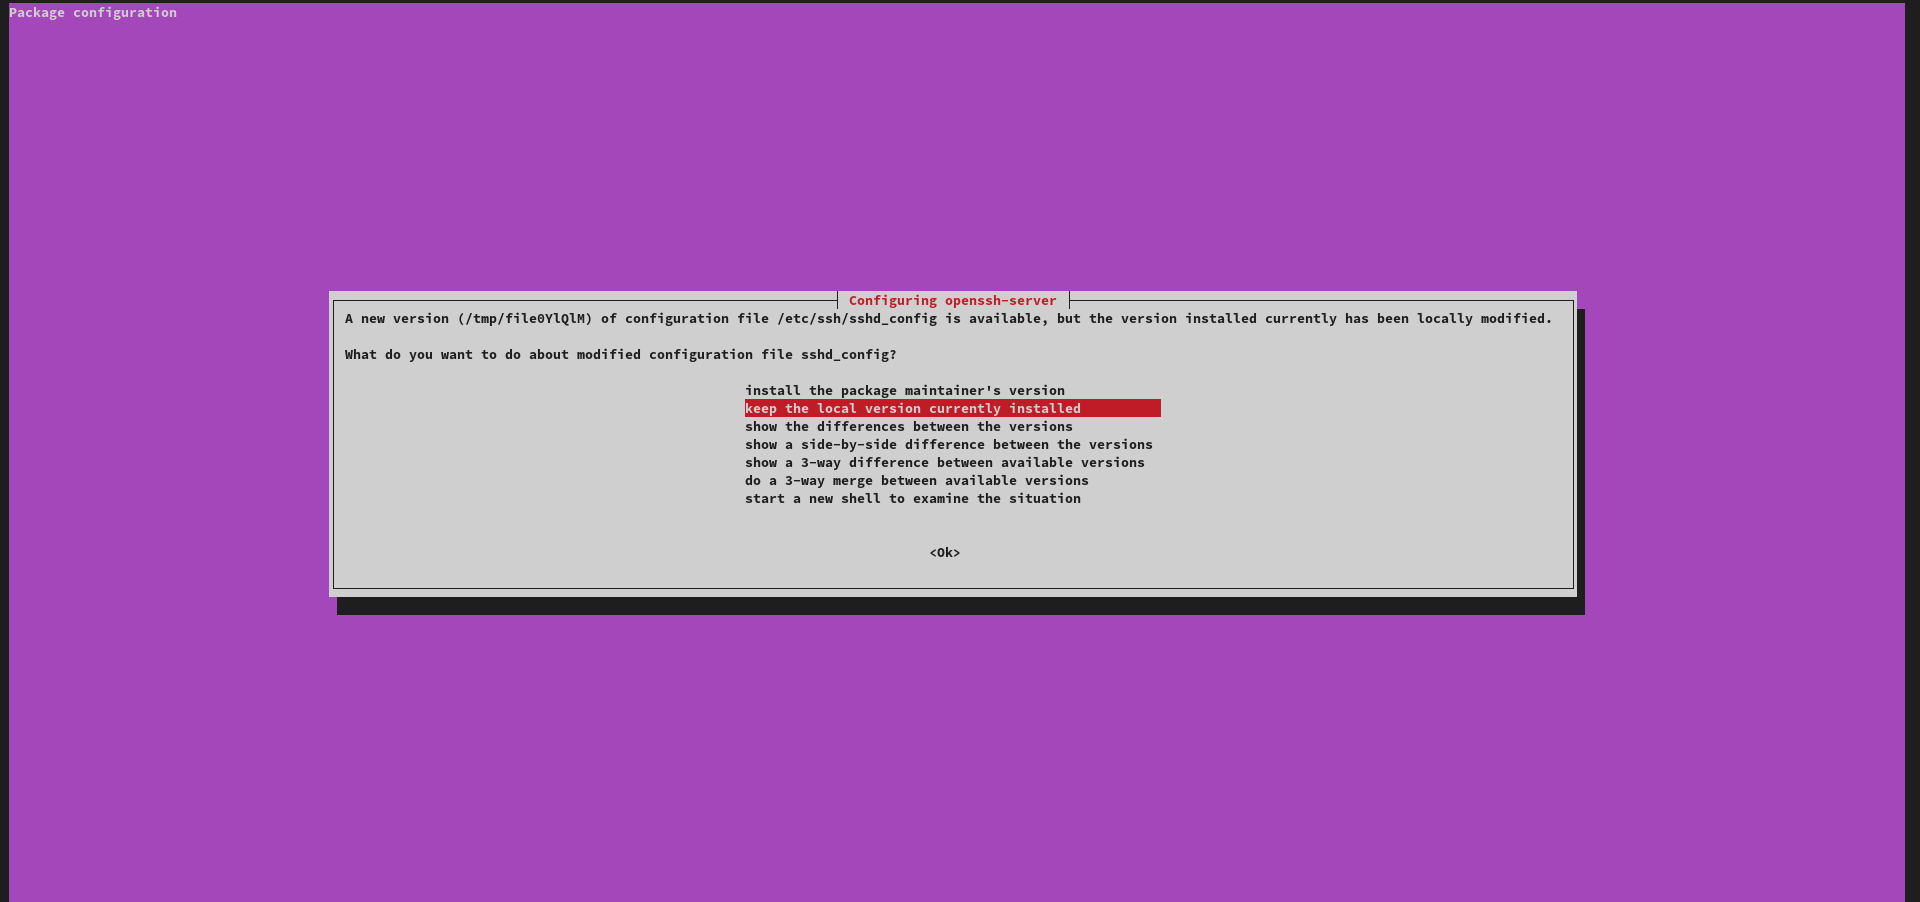
If a popup window appears like this, just press enter.
WordOps Installation
Install WordOps:
wget -qO wo wops.cc && sudo bash wo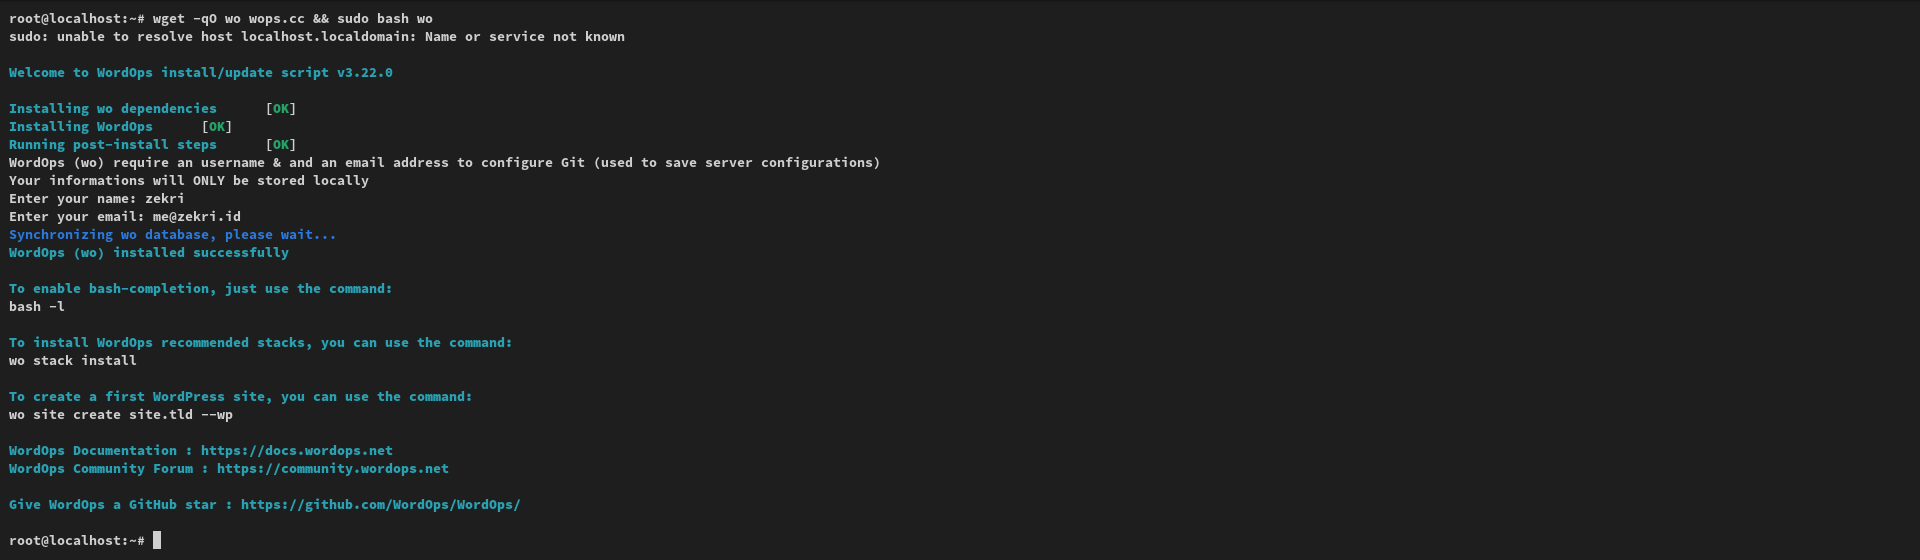
The process takes quite some time. Make sure you have a stable internet connection during the installation and subsequent steps to avoid timeouts or
Broken Pipeerrors on SSH.
LEMP Stack Installation
Next, run the command to install the stack containing the default WordOps packages:
wo stack install
4. Configure DNS Domain in CloudFlare
While the installation is in progress, let’s prepare the WordPress domain you want to use. In this tutorial, my domain is on CloudFlare. Go to the DNS Record Menu in CloudFlare and point it to your VPS IP address.

5. Accessing the WordOps Backend
Once the stack installation is successful, the default username and password to log into the WordOps backend will appear. Open it in your browser:
https://IPVPS:22222(replaceIPVPSwith your VPS IP address). Enter the username and password obtained when the installation is complete.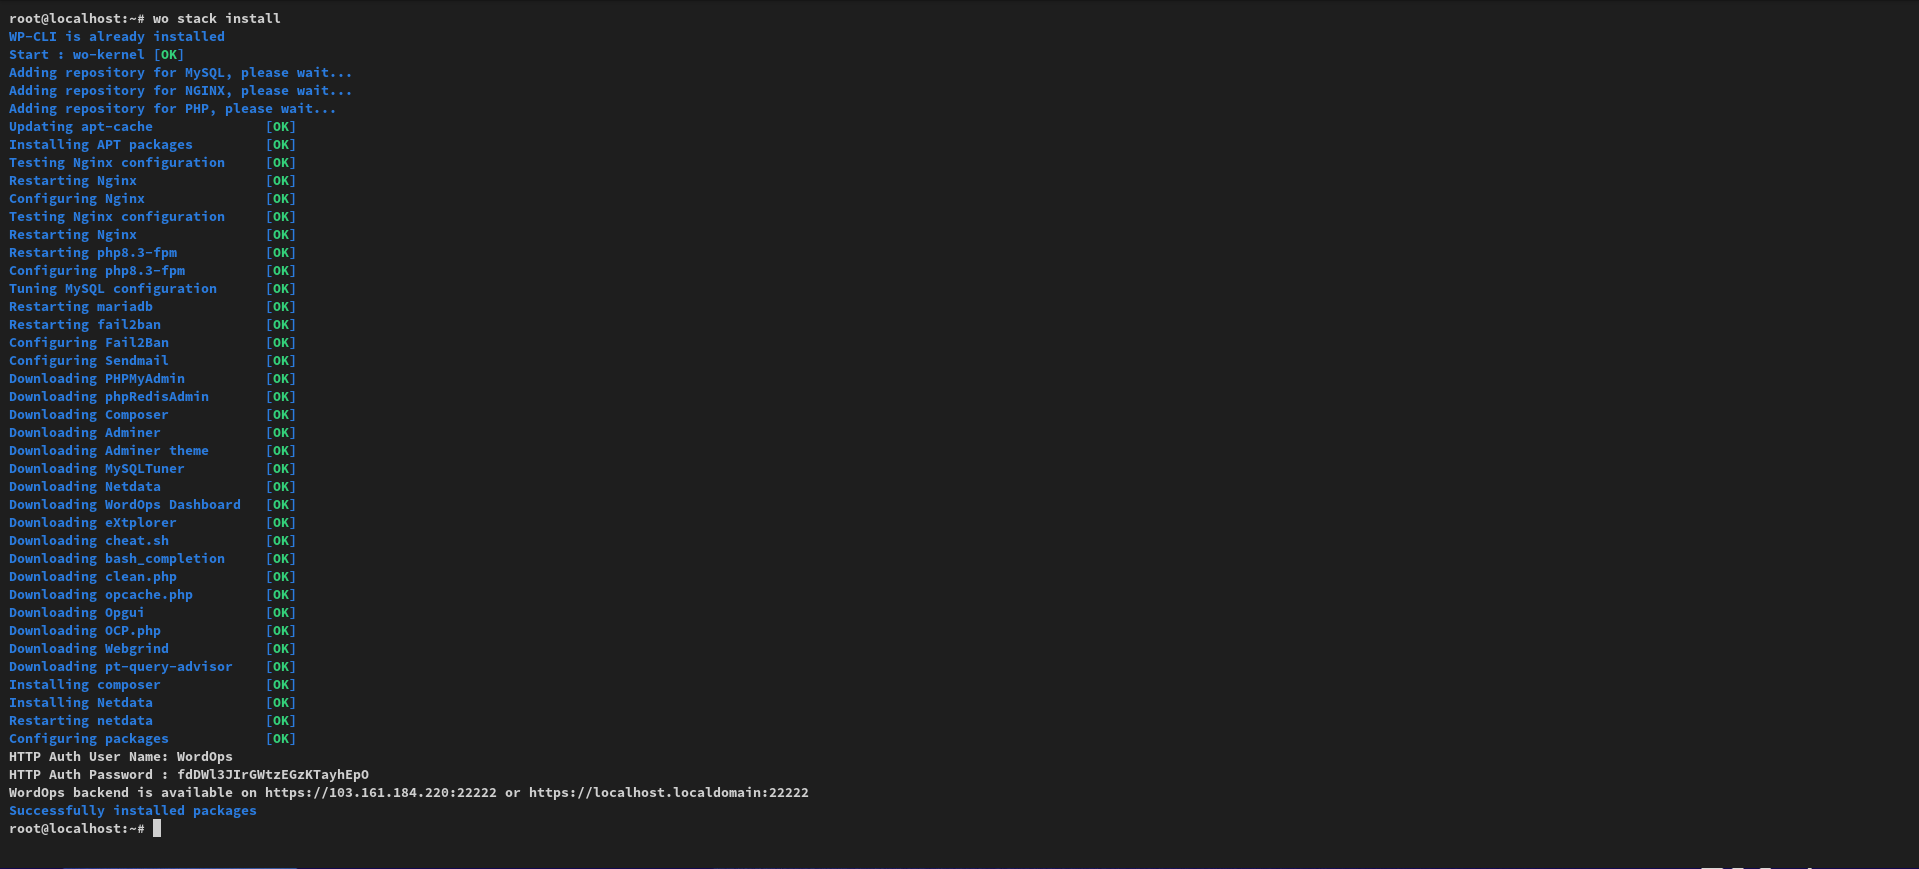
6. WordPress Installation with WordOps
Install WordPress with the following command:
wo site create domainkamu.com --wp --php81 -le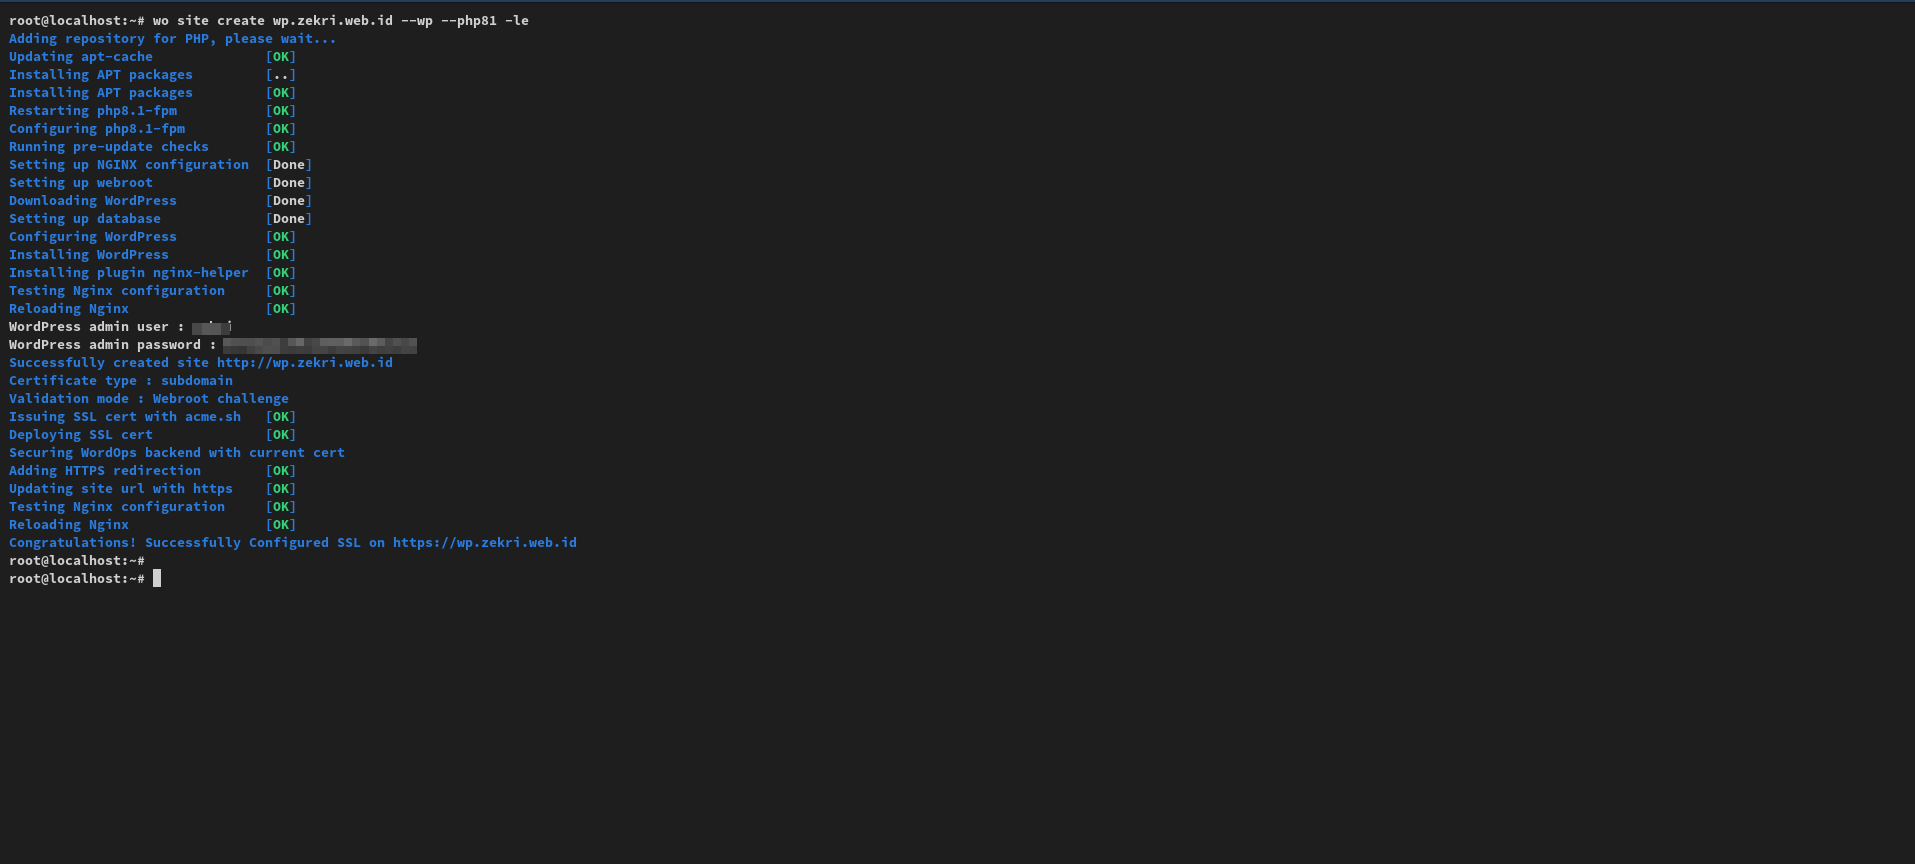
Explanation:
domainkamu.com: This is the domain name you want for your WordPress website. Replacedomainkamu.comwith your actual domain name, for example,example.com.--wp: This option tells WordOps to automatically install WordPress on the newly created website. Without this option, WordOps will only create the website directory but will not install WordPress.--php81: This option specifies the PHP version to be used for the website. In this case, the website will use PHP 8.1. You can replace it with a newer version if available, for example,--php82or--php83.-le: This is short for--le=trueor--letsencrypt. This option tells WordOps to automatically configure an SSL/TLS certificate from Let’s Encrypt for your website.
Installation successful!
Once the installation is complete, you will get the username and password to log into wp-admin. You can log in with
https://domainkamu.com/wp-admin(replacedomainkamu.comwith your domain).
7. Configure Redis Cache for Optimal Performance
Enable
--wpredisto speed up your WordPress site by storing data in RAM, reducing database load, and improving user experience.wo site update domainkamu.com --wpredisReplace
domainkamu.comwith your domain.
8. Removing Netdata (Optional)
Next, we need to remove the
netdatapackage because it is not essential and uses a lot of RAM and CPU (because the data is updated in real-time). Also, access to the Netdata page does not require a password (requires other customizations), which is not ideal for security.root@localhost:~# wo stack remove --netdata Are you sure you to want to remove from server. Package configuration will remain on server after this operation. Remove stacks [y/N]?Y Removing /var/lib/wo/tmp/kickstart.sh [Done] Removing packages [OK] Successfully removed packagesroot@localhost:~# wo stack stop --netdata --force PHP7.4-FPM is not installed PHP8.0-FPM is not installed PHP8.1-FPM is not installed PHP8.2-FPM is not installed PHP8.3-FPM is not installed PHP8.4-FPM is not installed Stop : netdata [OK]
9. Conclusion
Congratulations! 🎉 You have successfully installed WordPress on a VPS using WordOps. With WordOps, you get high performance, good security, and easy management. Now you can focus on creating amazing content and growing your website.
We hope this tutorial was helpful! 😊
10. Need Help Deploying and Managing Your VPS?
If you don’t have the time or are having trouble deploying and managing a VPS for WordPress, another CMS, or other scripts, don’t worry! We provide professional services to help you. We are ready to help from the initial setup to routine maintenance.
We Offer:
- Deploy and configure VPS for various needs.
- Installation and optimization of WordPress, other CMS, and various scripts.
- Website migration to VPS.
- Routine maintenance and server updates.
- Server security.
Get Cheap VPS at: NevaCloud
Contact us now for a consultation and get the best offer! You can contact us by email at [email protected].